Availability Per Account Type
Trial
Lite
Pro
White Label
WL – Custom
Description
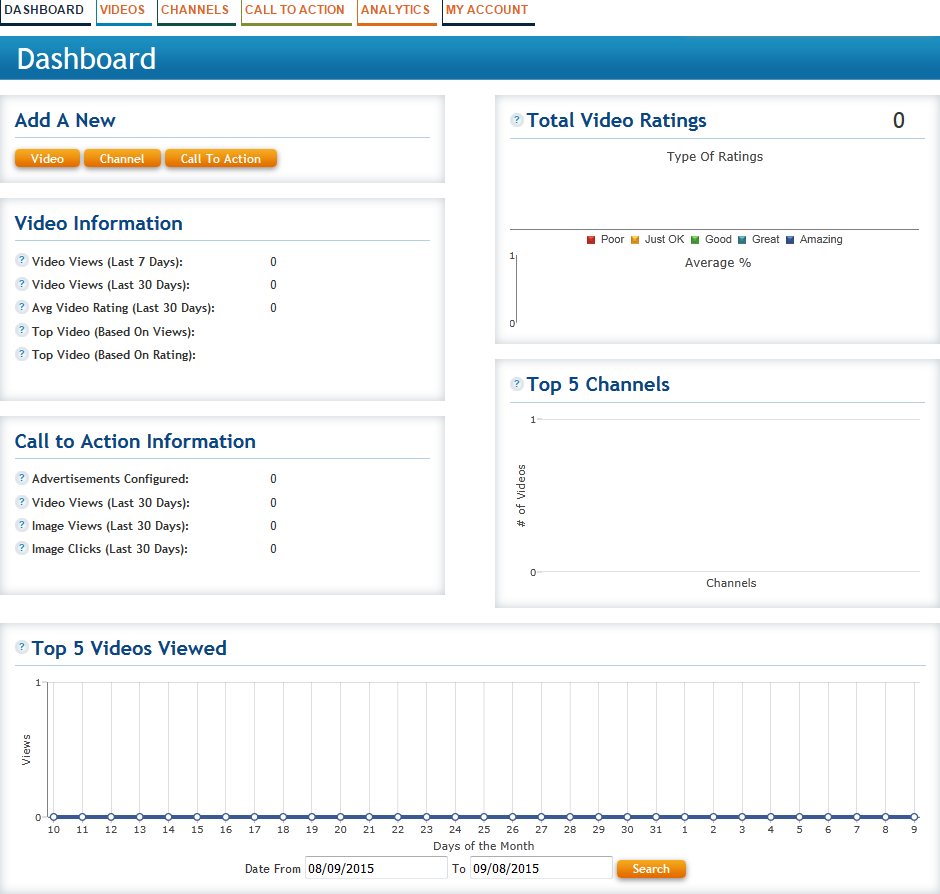
You have the option of creating Sub Accounts for customers allowing them to fully manage their own video library. They are given the full power of EZWebPlayer but as your own product. Your customers will have the ability to upload videos, create channels, add call to action to their players, etc…
There is a permanent one way firewall between your account and theirs. You can each into their account but they cannot reach into or even see yours. And, when you have multiple customers, there are also permanent firewalls between each of your customers’ accounts—they have zero access with any other customer’s account.
This allows you to jump into their account and help them if/when they run into a snag.
*Things to note
- Can only be created through a White Label Custom Account.
- White Label Custom Sub Accounts get to pick their own Password.
- White Label Custom Sub Accounts need to verify their email through a branded email link that uses the White Label Custom main account’s Email From Address and the Email Subject found on their My Account page within the White Label sub section.
- Video transcoding settings for the Sub Accounts match the main accounts transcoding settings.
Getting Started
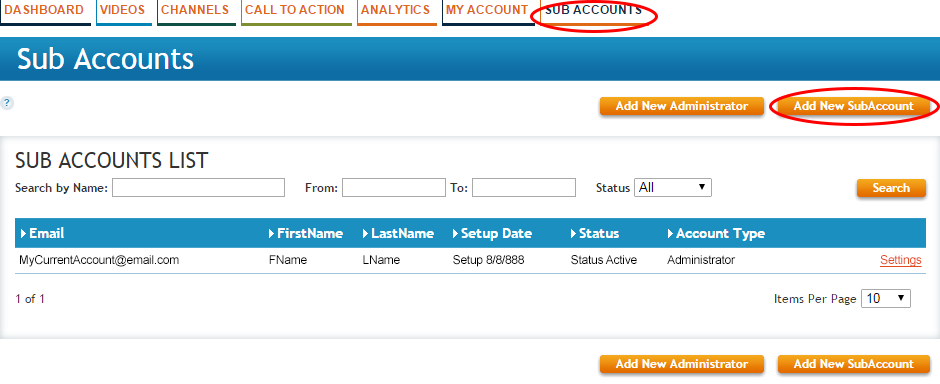
Step 1. Within the top navigation bar click on the Sub Account option, then click on the Add New SubAccount orange button to begin.
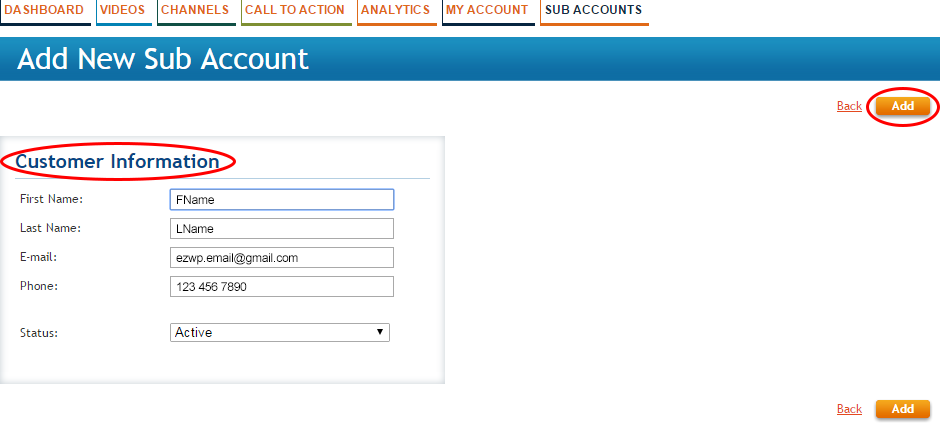
Step 2. Fill out your sub account’s information and make sure they are set to Active. Then click on the Add orange button to send this user an activation email.
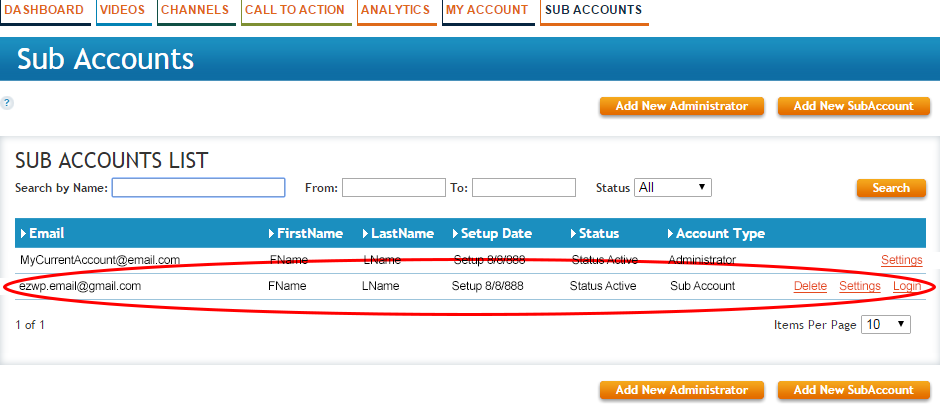
Step 3. You will then be taken back to the Sub Account list page and you should see your new sub account added to your list of existing sub accounts. From here your job is done, now it is in the hands of your sub account client.
Step 4. They will be sent an activation email. If they don’t see this email, have them double check the spam folder. This activation email should be seen to be sent from your Email From Address value and using your Email Subject value. If you need to resend this email to them at any time you can do so from the above page and clicking on their Settings option then you should see an option to resend the activation email. This is incase they delete it by mistake.
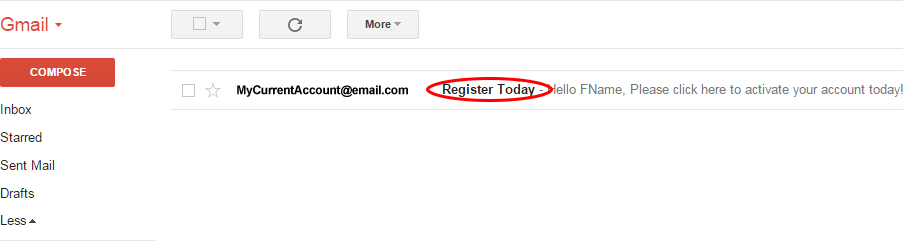
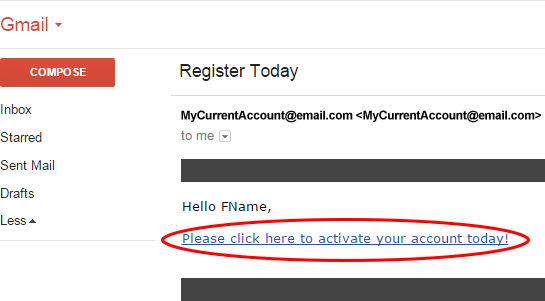
Step 5. Once they open the activation email they will need to click on the available text link within the email.
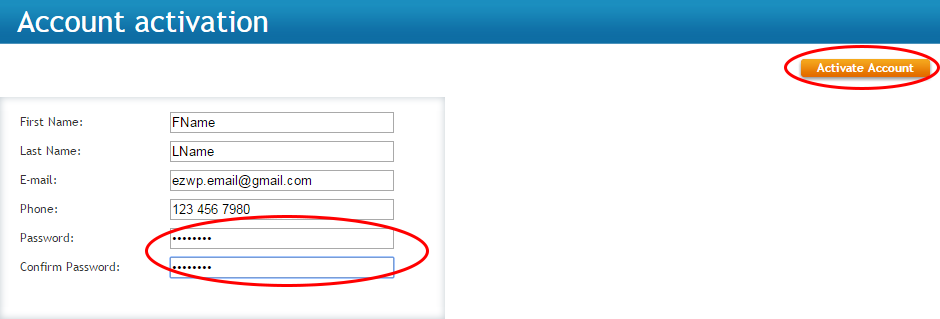
Step 6. They will automatically be logged into their account and they will need to set up a password for their new account. Once they create a password they can then press the Activate Account orange button to finish this process.
Step 7. Their account is now created and they are ready to begin uploading video or creating live streams. They will be able to log into their account using your Administration Console DNS Name.