Availability Per Account Type
Trial
Lite
Pro
White Label
WL – Custom
Picking A Template
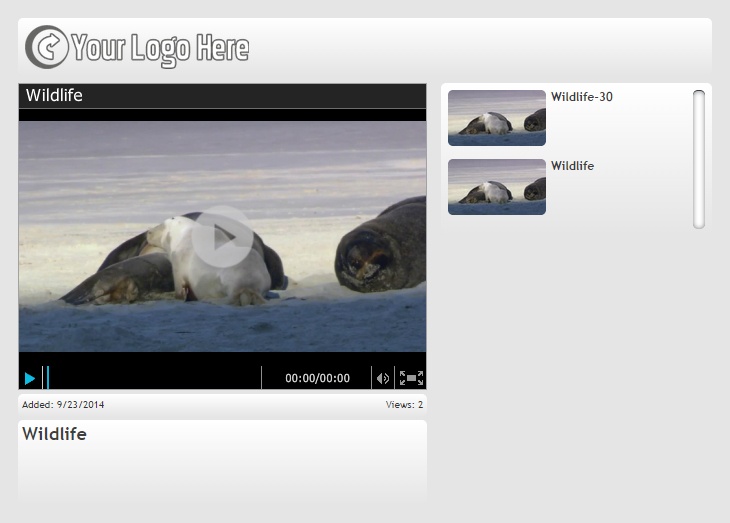
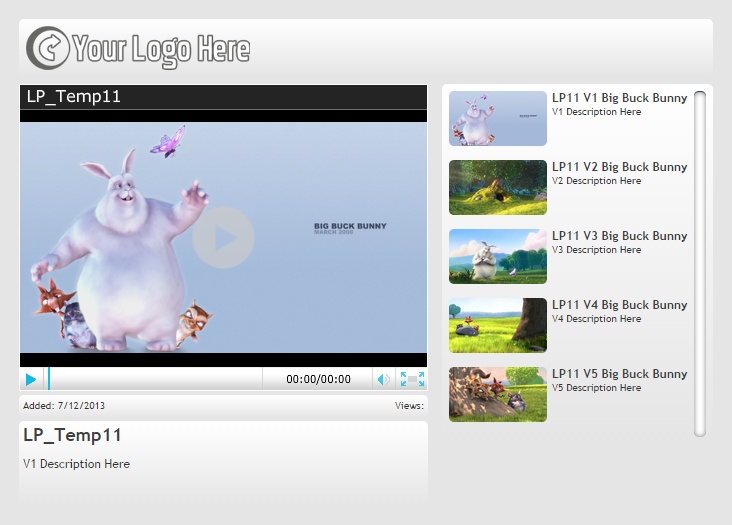
The image below is a full screen grab sample from our site that offers up all of the pre-designed templates from which you can choose. To actually choose a template, click on the template link in the Step 1. Below.
If this type of setup is new to you, we suggest that you follow standard training procedure and read all instructions first, then go back to the first step and actually start executing each step. Yes, sort of like taking a test in school.
Still hung up somewhere? Simply email us. [email protected]
Getting Started
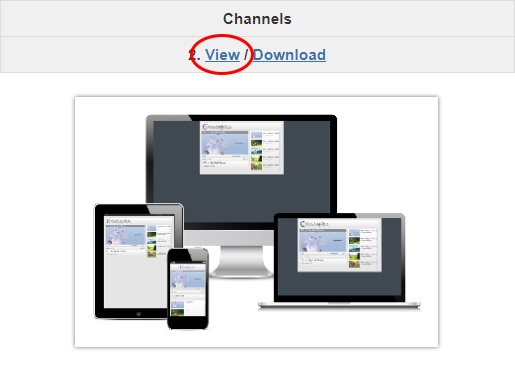
Step 1. Select a template that best fits your needs.
Step 2. View the template to make sure you like it by clicking on the template’s View link.
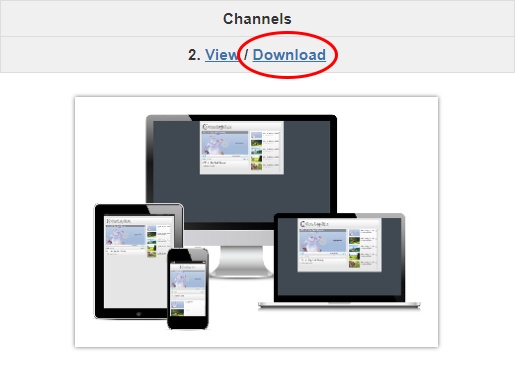
Step 3. Once you have selected the template that best fits your needs go ahead and click on the Download link for that template and save it to your desktop for ease of use.
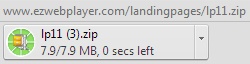
Step 4. You will then see your browser start to download the template’s .zip file.
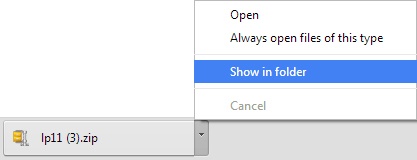
Step 5. Once the download is finished go ahead and click on its Arrow button and select “Show in folder” to view the .zip file directly.
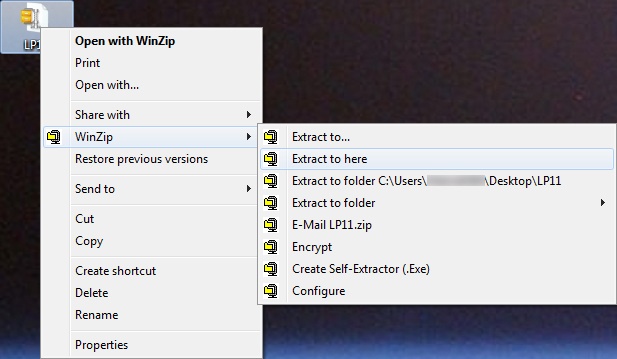
Step 6. Right click on the templates .zip file and select to “unzip” extract to here, placing the template files on your desktop.
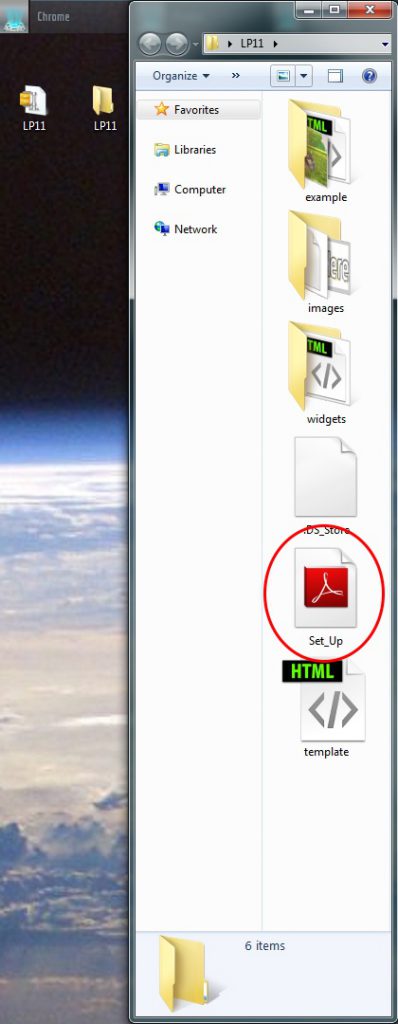
Step 7. Go ahead and open up the unzipped folder of the template. With in the folder will be a Set_Up.pdf file that goes over this page’s steps. This will be your back up in case you forget how to get back to this page in the future.
Install Your Template Into A Landing Page
Once your template is downloaded to your machine and unzipped you are ready to start to implement the template with in your account.
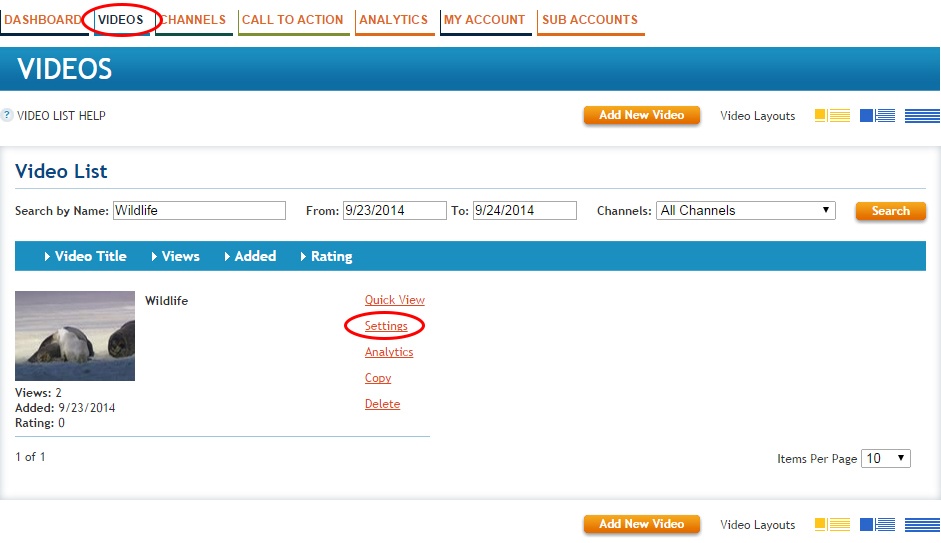
Step 1. Log into your EZWebPlayer.com account and goto your Videos page. Click settings for a video you want to use this landing page template with.
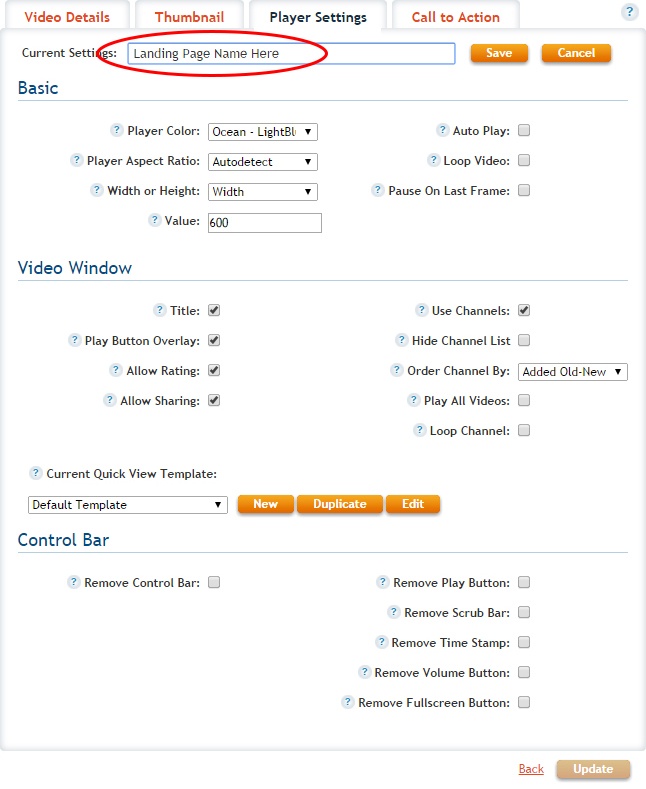
Step 2. Click on the player settings tab. One thing to remember if your video is using the default player settings you might want to make a new player settings profile now because any changes to the default player settings will effect all of the videos using that same player settings and you might not want all of your videos using this landing page layout. So I suggest you click on the button new to make it’s own player settings that will be associated with this landing page design. When you click on the new button you will then need to name the template.

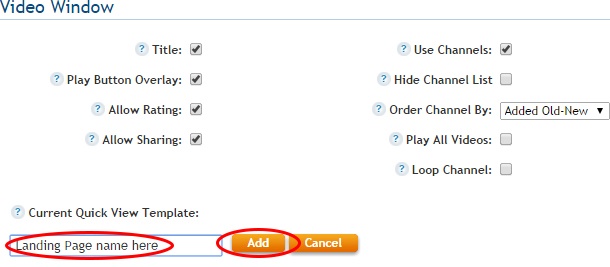
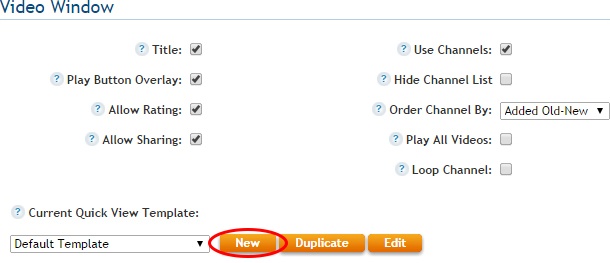
Step 3. With in the sub section called Video Window click new for current quick view template and give it the same name as your player settings for ease of use then hit add. We name the player settings and the quick view template the same to make identification easy if you like to use many player settings.
Step 4. At this point the edit template pop up window should appear on your machine, make sure you have your pop up blockers turned off to see this page. Use the image uploader to upload all of your images with in your template. You want to do this first because when a new image is uploaded the page refreshes to show the image in the list. If you started to code your template and did not save when you upload an image the page will refresh making you lose any unsaved coding.
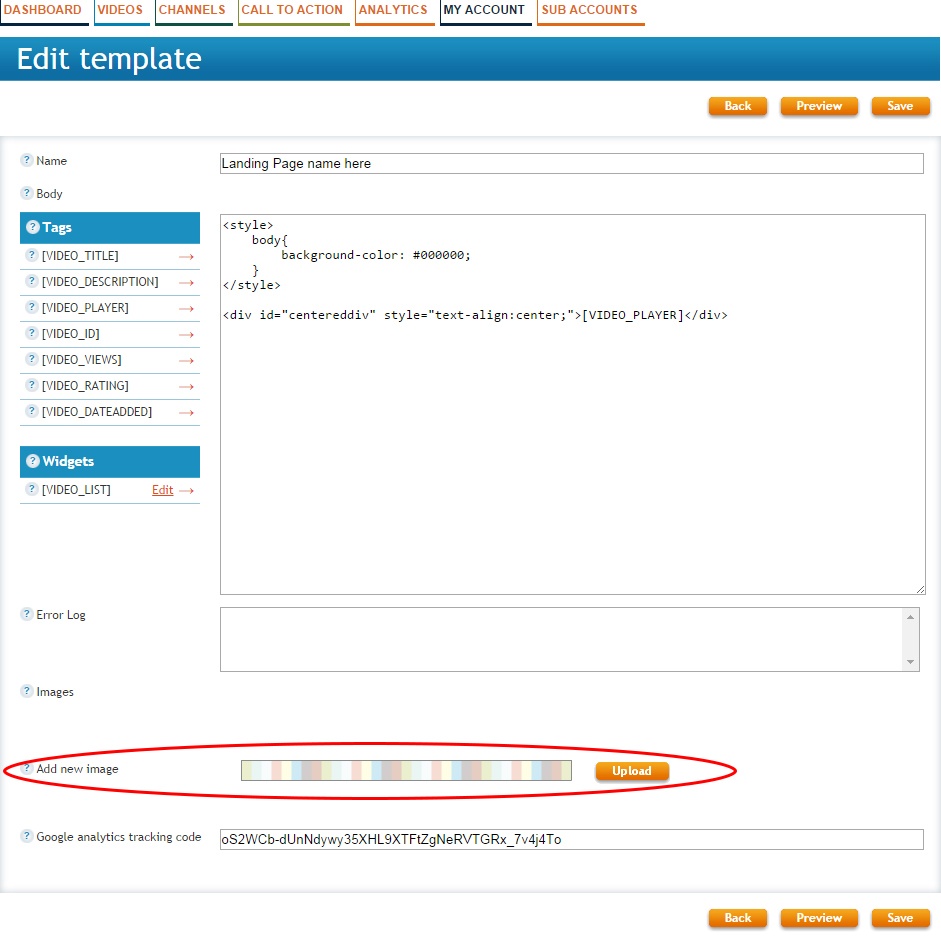
Step 5. When adding images from your template click on the Upload button for the Add new image section and with in the pop up window locate the template folder on your machine (should be on your desktop for ease of use) and open the images folder if the template has imagery attached to it. (Most do).
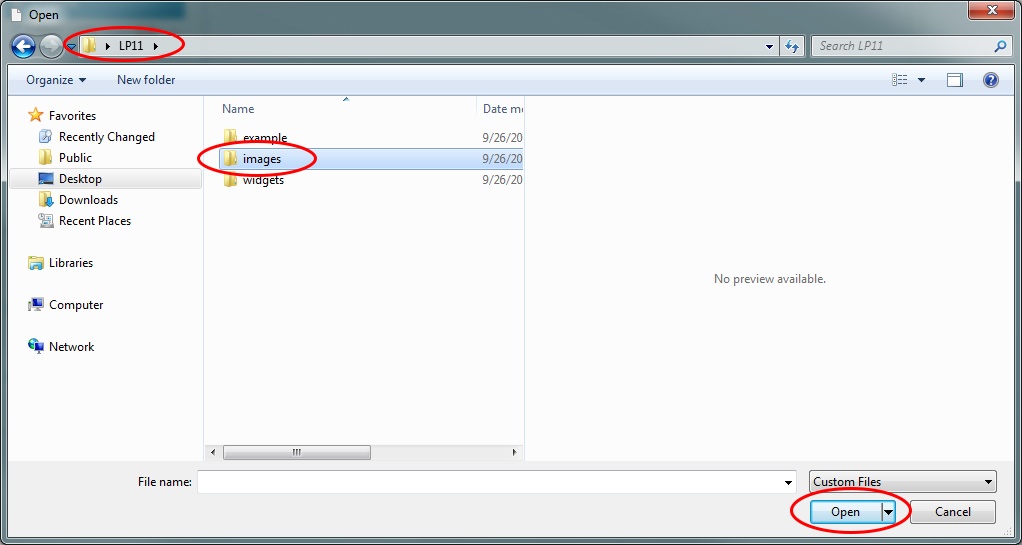
Step 6. Select any images in the image folder and press the open button to upload it to your template. Repeat steps 4-6 for each image with in your template. During this process you should also upload any image you wish to use as well like a logo.
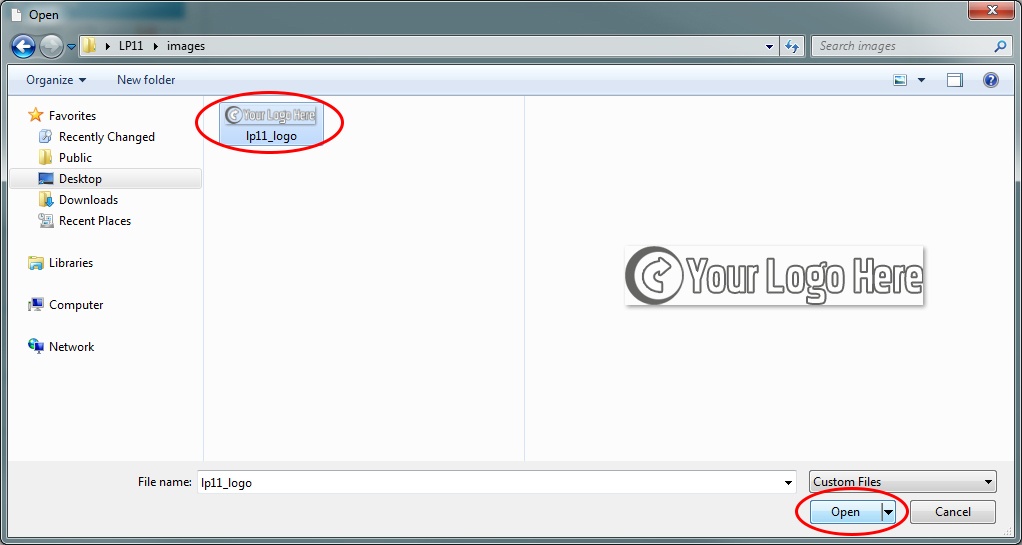
Step 7. You should now see all of your template images in the image list.

Step 8. Now for the template’s code. Open your template folder from the desktop and locate the template.html file. Right click and do an open with and select notepade. Or any code editor you prefer.
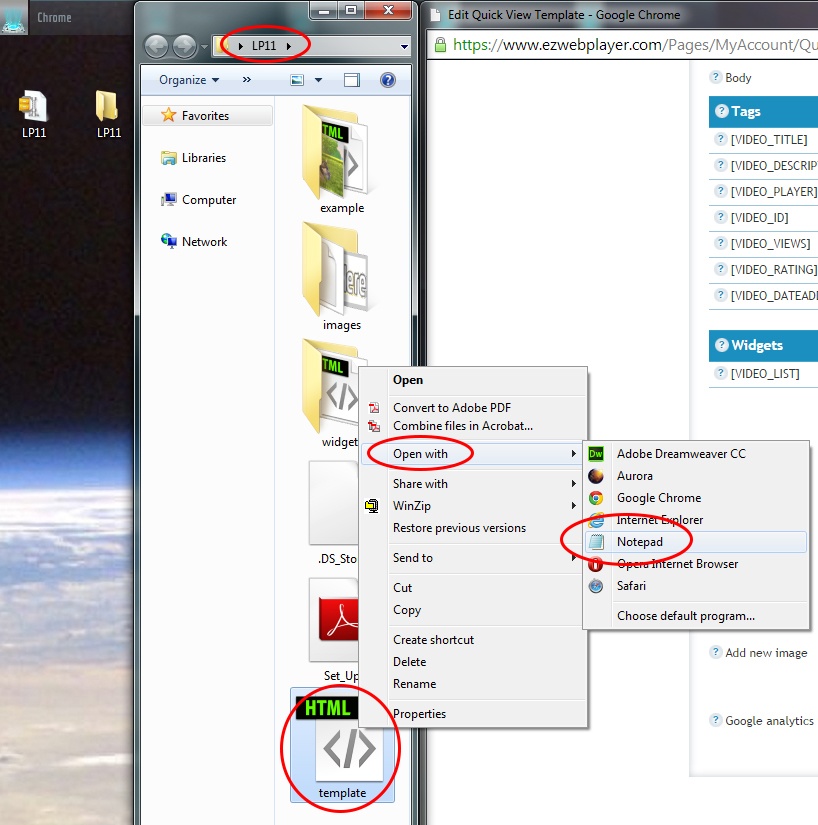
Step 9. Click Shift + A to select all and then Shift + C to copy all of the templates code.

Step 10. Go to your edit template window and place the curser in the body code section. Shift + A to select all / Shift + V to paste all your recently copied code into the body section.
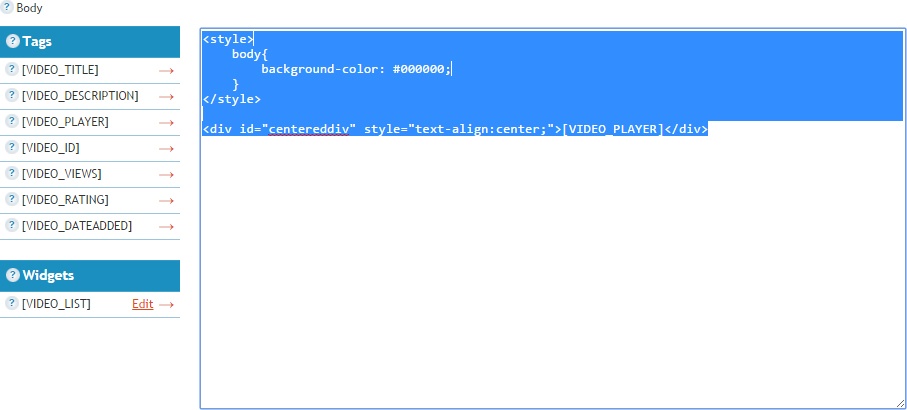
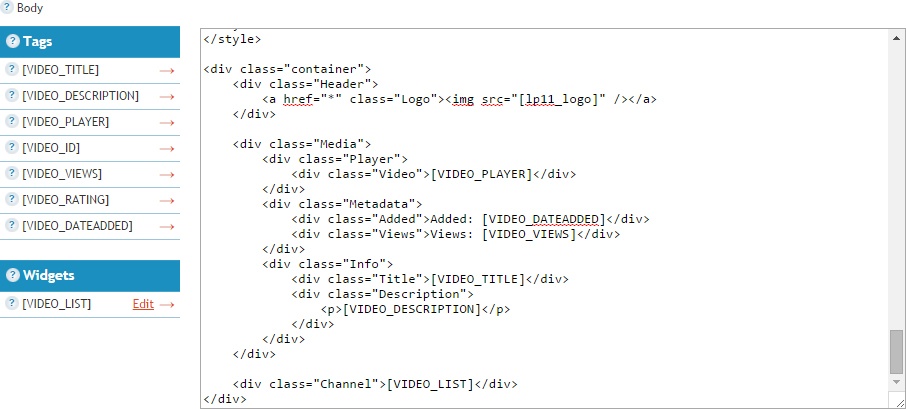
Step 11. If done correctly your body code should have a lot more code in the input box. This is the code that makes/builds the template.
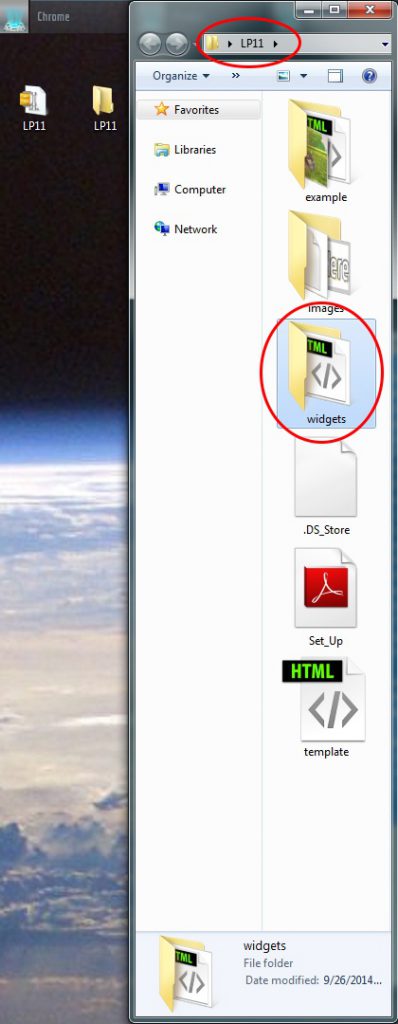
Step 12. Now for any widgets your template might have, the most common is the video list. Open the widgets folder with in your template folder on your desktop.
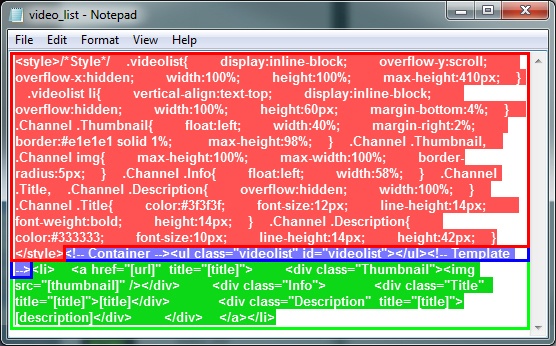
Step 13. Right click on the video_list file and do an open with and open with notepad or the coding editor program you prefer.
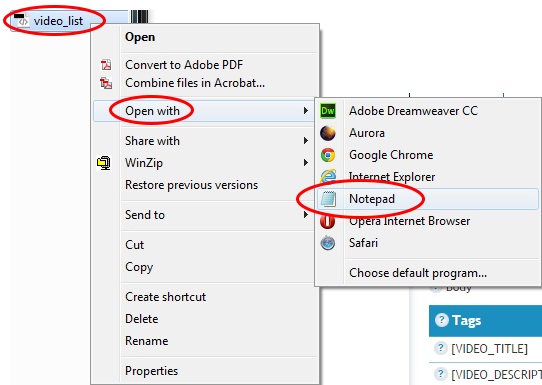
Step 14. Click shift + A to select all / Shift + C to copy the selected code.
Step 15. With in your edit template window hit the edit option for the video list widget.
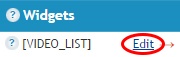
Step 16. An edit video list pop up window will show up.
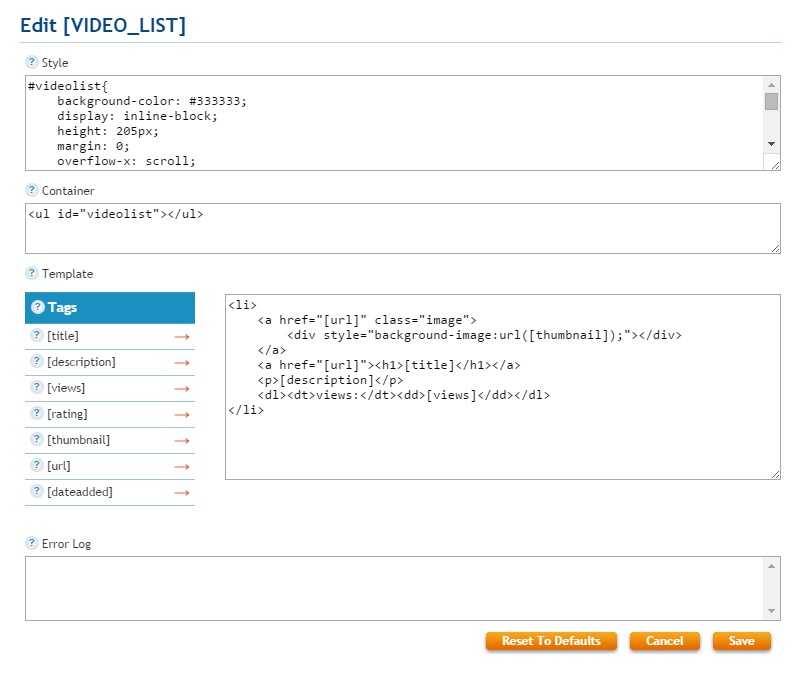
Step 17. Paste the style tage in the style section / paste the container UL tag in the container section / paste all of the LI tags in the Template section.
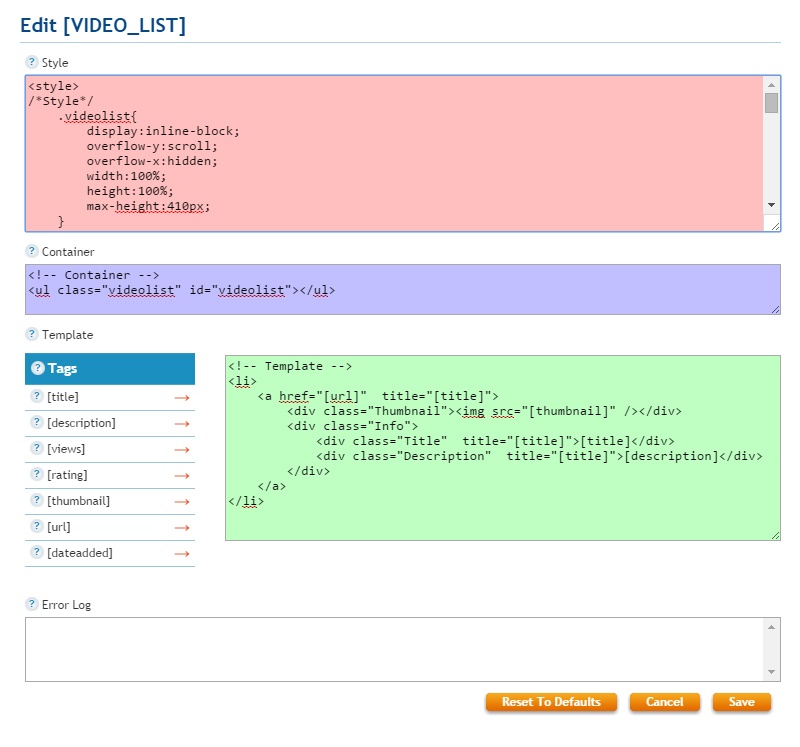
Step 18. Hit save to save your work for the video list widget then hit save to save you work with the edit template pop up window

Step 19. If done correctly you should see the quick view template successfully saved in the bottom right corner of your window. You can now close the edit template window.

Step 20. Hit save and update and quick view.

Step 21. Review your work, your template should be attached to your video.