Availability Per Account Type
Trial
Lite
Pro
White Label
WL – Custom
Windows and EZWebPlayer via XSplit Broadcaster
XSplit Broadcaster is a free, audio/video mixing (switching) application that facilitates live broadcasts and video recordings in a desktop environment. Like OBS, XSplit is Source/Scene based but, unlike OBS, XSplit is a tad friendlier to novice streamers as it helps you setup your first stream or recording by asking you short questions and directing you where to click on needed action buttons.
XSplit will work on both Windows and Mac machines, but the Mac user will need to download and install Boot Camp in order to install Windows on the Mac computer.
Follow the steps below to setup and run your livestream.
Attaching a Livestream to XSplit
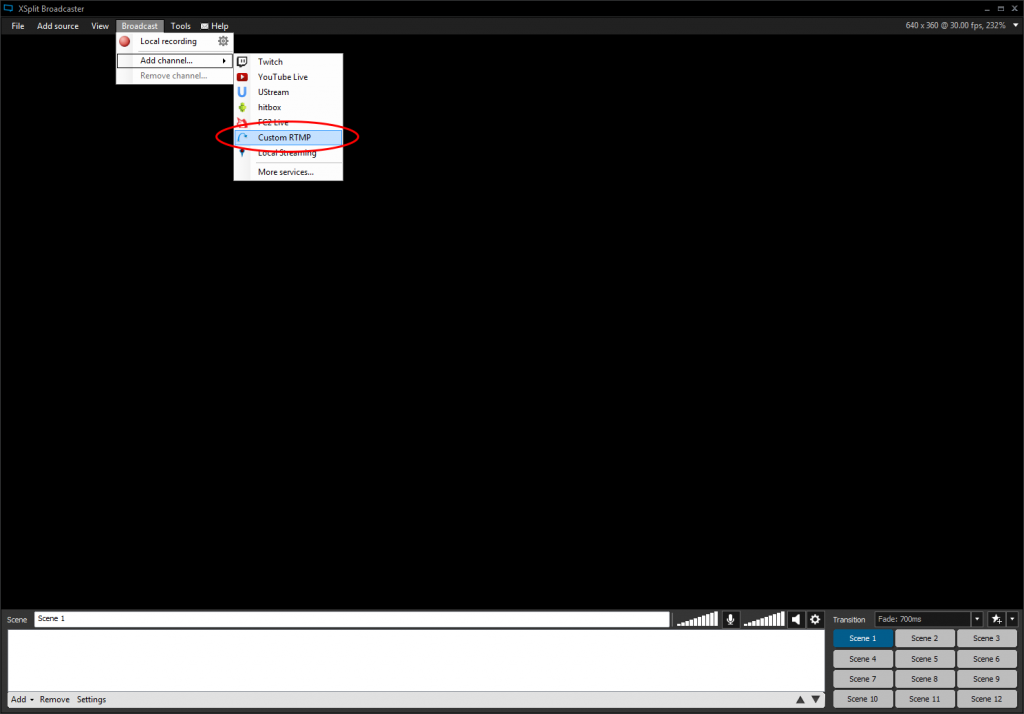
Step 1. To attach your EZWebPlayer Livestream to XSplit, click on Broadcast/Add channel…/Custom RTMP.
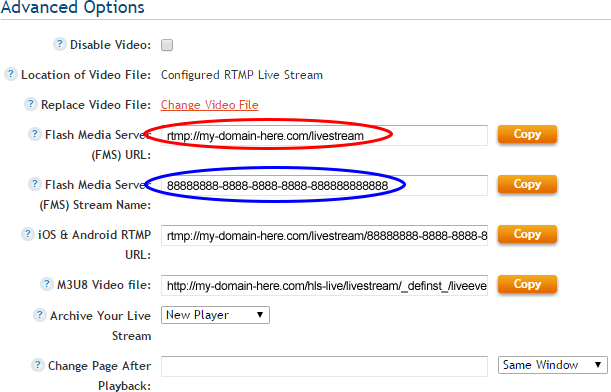
Step 2. You will want to log into your EZWebPlayer account and click on the header navigation’s VIDEOS page, then click on your players Settings option. You can find your stream’s settings on the Video Details tab in the Advanced Options subsection. You will want to Attach your;
- Player’s Title to the Name.
- Player’s Description to Description.
- Flash Media Server (FMS) URL to RTMP URL.
- Flash Media Server (FMS) Stream Name to Stream Name.
- Your Player’s Quick View Link URL to Share Link.

Running a Livestream
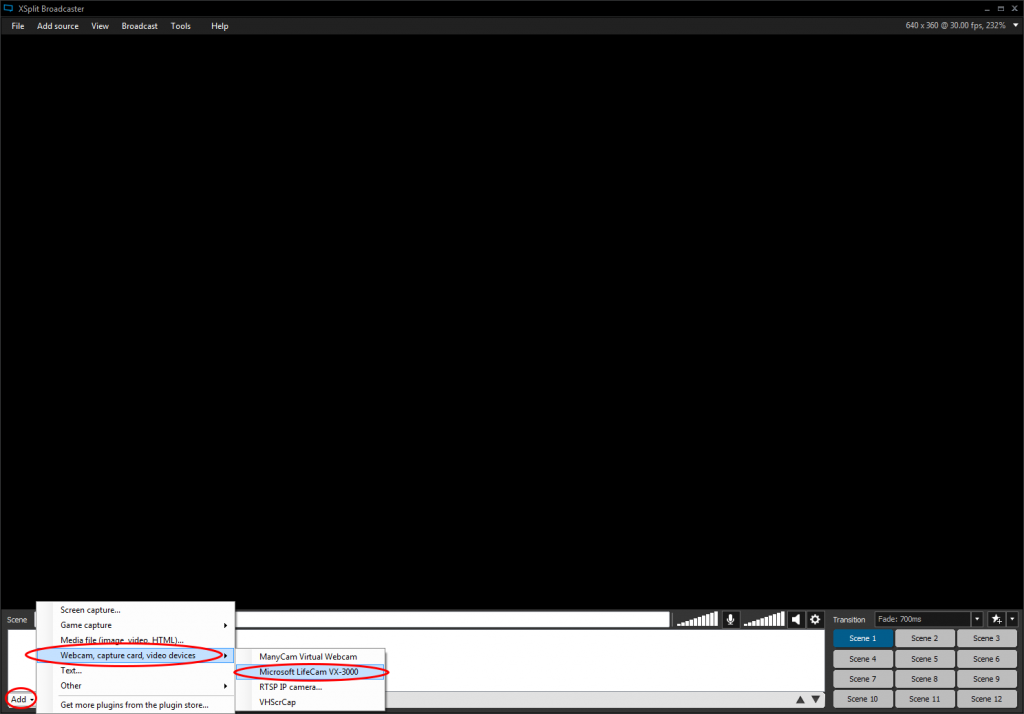
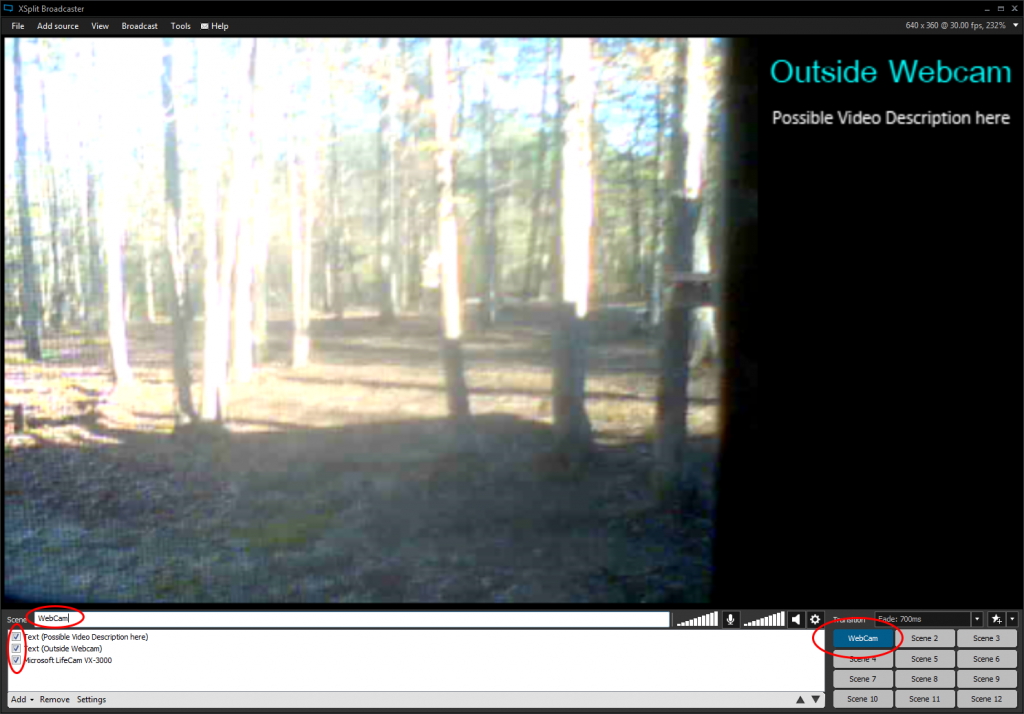
Step 1. With your EZWebPlayer Livestream now saved to your XSplit application, you can use the Add button in the lower left corner of the XSplit window to add your video / text / images and then you can name this stream from “Scene 1” to any thing you wish. You can then set up multiple scenes to transition from as well. So you could have a scene with video, then another scene with information about the livestream in a static graphic slide and another with other camera angles. The options are limitless.
Step 2. Here is what a basic setup might look like. We have a basic webcam / stream title / stream description.
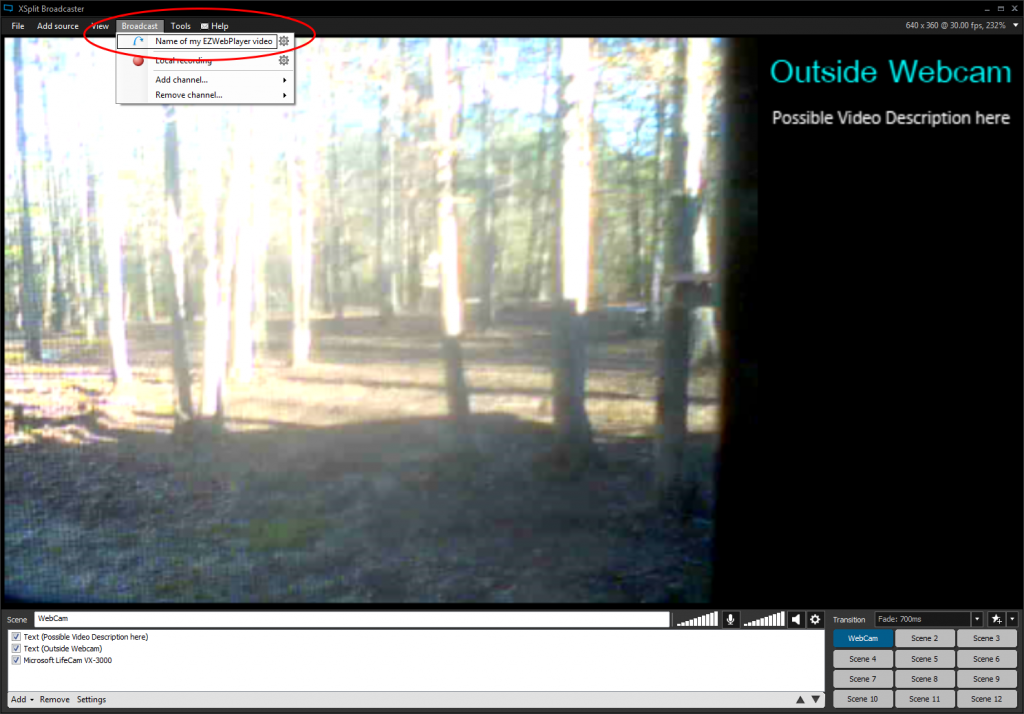
Step 3. Start streaming by selecting Broadcast / The name of your stream.
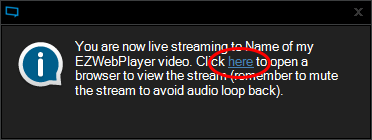
Step 4. You are now livestreaming your event.
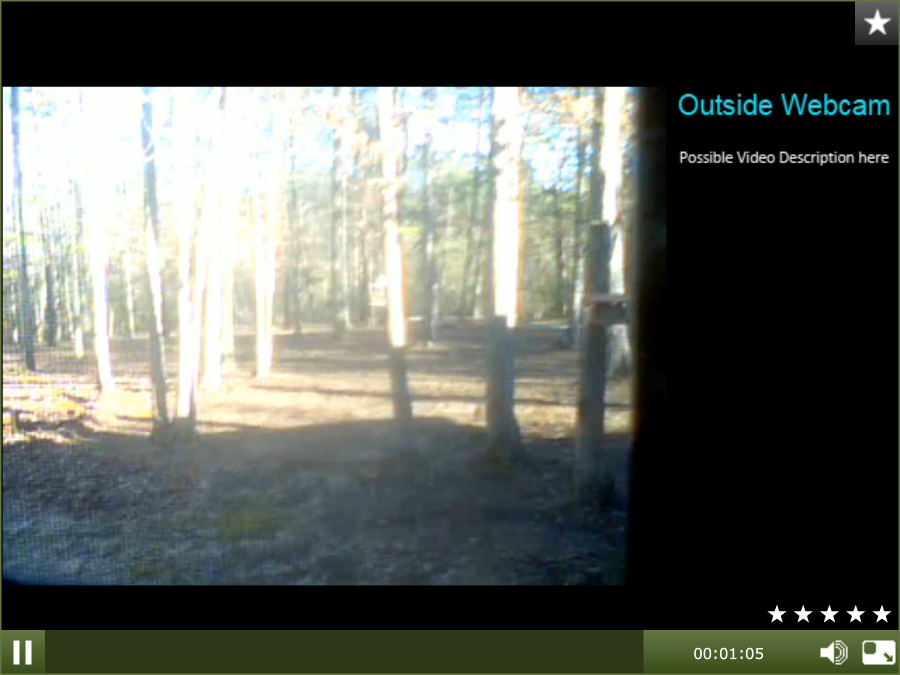
Step 5. Here is an example of a livestream running in your EZWebPlayer Player.